The ability to attach fluorescent markers to antibodies using FITC (fluorescein isothiocyanate) has advanced many research workflows, especially in flow cytometry, immunofluorescence microscopy, and cell imaging. FITC dye labeling kits are convenient tools that allow scientists to modify antibodies for precise fluorescence-based applications. In this guide, we explore the science of FITC conjugation, protocol strategies, optimization tips, and how to integrate FITC-labeled antibodies in common laboratory assays without compromising accuracy or signal quality.
What Is FITC and Why Is It Used in Antibody Labeling?
FITC is a green-fluorescent dye that reacts with free amino groups on proteins, mainly lysine residues, forming stable thiourea bonds. The compound is widely favored because of:
-
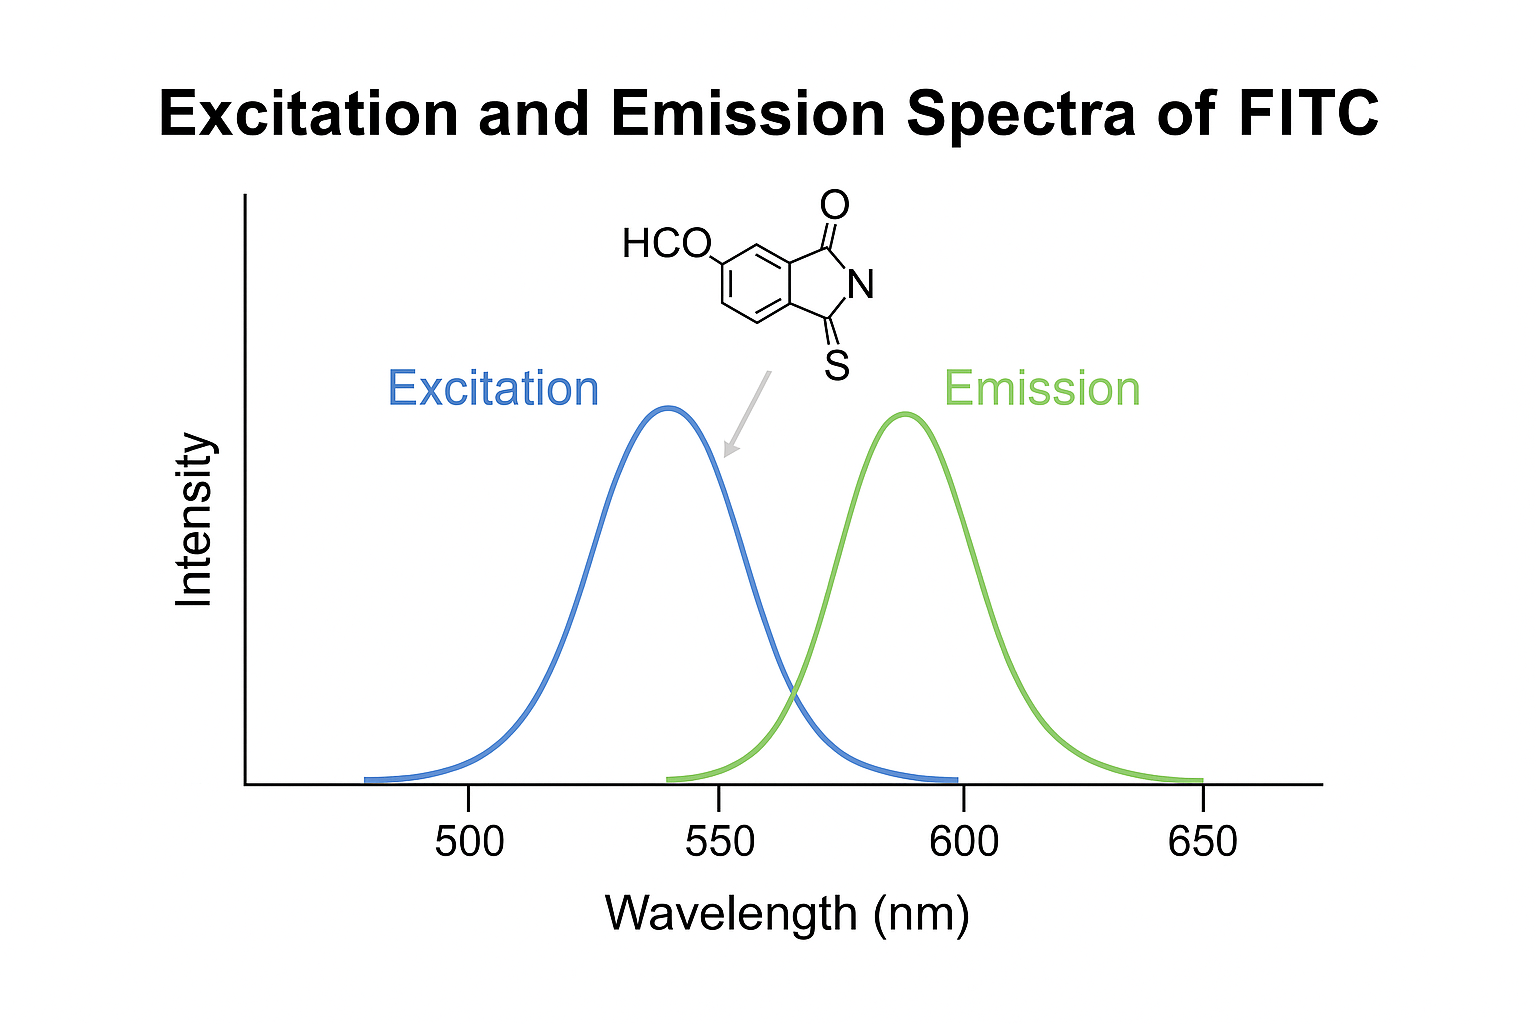
Its strong absorption at 488 nm (excitation)
-
Emission peak near 519 nm (compatible with standard filters)
-
High photostability in biological buffers
The core labeling chemistry is explained in resources such as NCBI’s Bioconjugation Protocols, which outlines how isothiocyanate-based dyes covalently attach to immunoglobulins.
Components of a FITC Labeling Kit
A typical FITC labeling kit includes:
-
Purified FITC dye (usually NHS-ester or isothiocyanate)
-
Conjugation buffer (commonly sodium bicarbonate)
-
Dye removal columns or spin filters
-
Optional quenching buffer or stabilizers
These kits simplify the process while maintaining reproducibility. Documentation from institutions like University of Iowa and NIH Flow Cytometry Core confirms their use in regulated research environments.
Pre-Labeling Considerations
1. Protein Purity and Concentration
-
Ensure antibody is carrier-free and azide-free
-
Ideal concentration: 1–10 mg/mL
-
Avoid stabilizers like BSA or gelatin (interfere with conjugation)
For protein purification guidelines, see the Harvard Core Facilities and Yale Immunobiology Resources.
2. Buffer Composition
Use non-amine buffers such as:
-
PBS (pH 7.2–7.4)
-
Sodium bicarbonate (pH 8.5–9.0)
Tris buffer should be avoided as it competes with labeling.
Refer to NIST guidelines on protein labeling for validated buffer systems.
Labeling Workflow
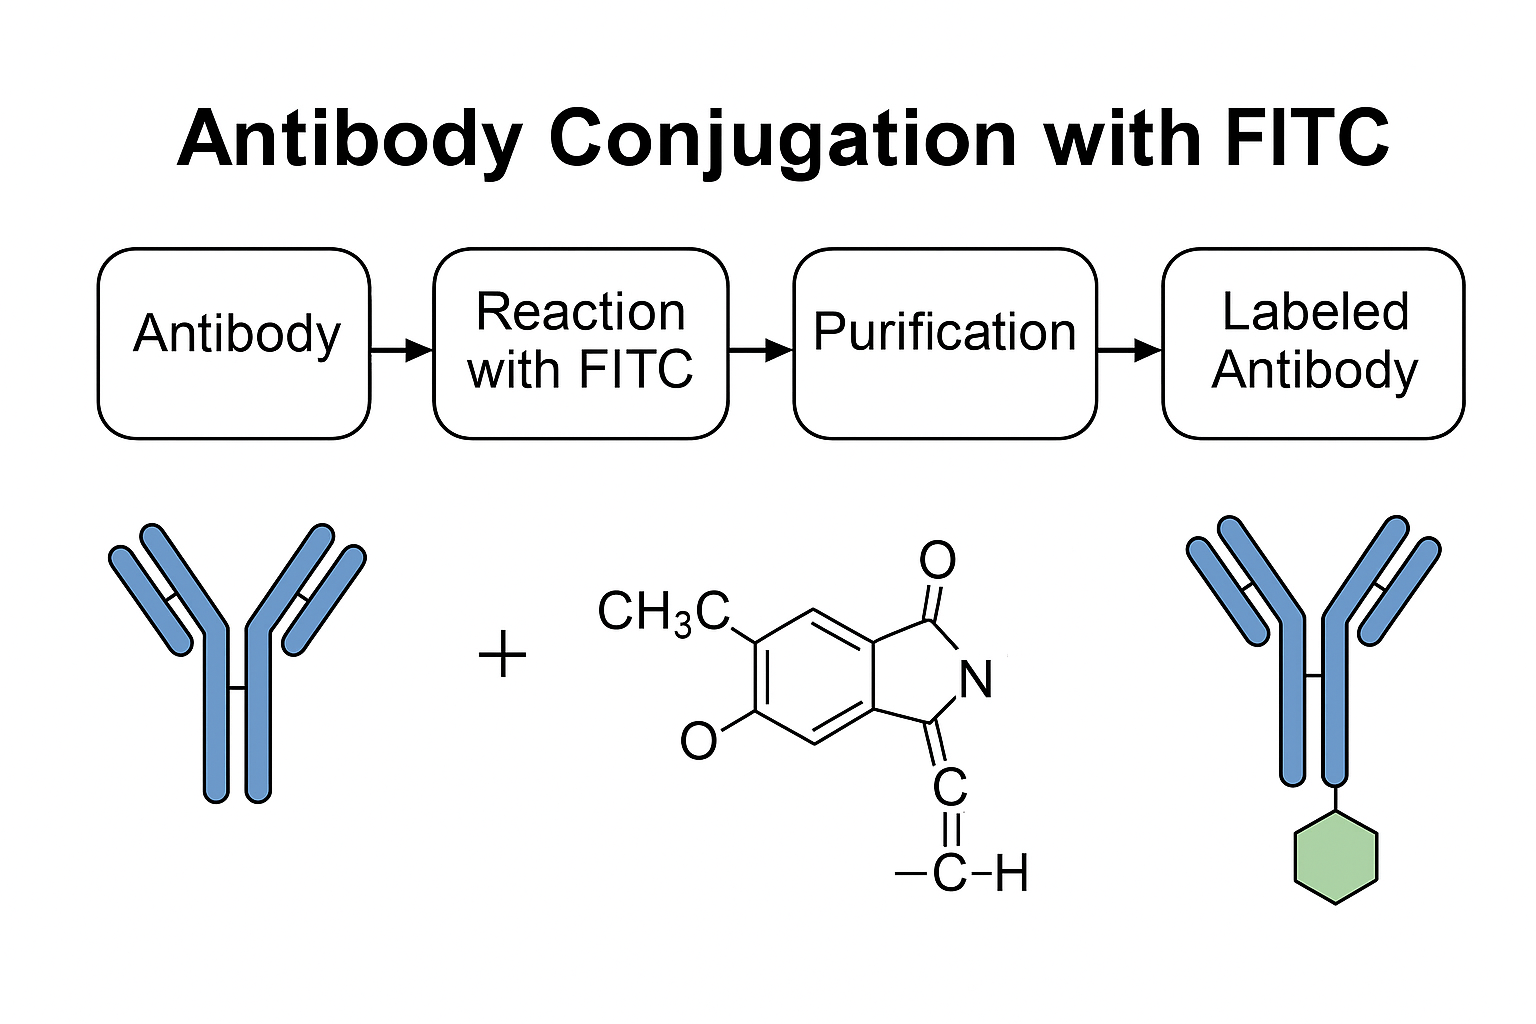
Step-by-Step FITC Conjugation Protocol
-
Buffer exchange if the antibody is in Tris or contains azide.
-
Mix antibody with FITC dye at an optimized molar ratio (e.g., 1:10).
-
Incubate at room temperature (20–25°C) for 1 hour in the dark.
-
Remove excess dye using a desalting column or centrifugal filter.
-
Determine D/P ratio using absorbance at 495 nm and 280 nm.
For spectrophotometric calculations, see this NIH absorbance method.

Optimization Tips for Reliable Conjugation
Controlling Dye-to-Protein Ratio (D/P)
-
Target a D/P ratio of 3–7 for maximum brightness
-
Over-labeling can impair antigen binding
More on fluorescent intensity optimization is available through CDC Fluorescent Protocols.
Avoiding Aggregation
-
Perform reactions at neutral to slightly alkaline pH
-
Use filtered buffers and purified IgG to prevent precipitation
Visit University of California Davis Flow Core for troubleshooting aggregation issues.
Applications in Flow Cytometry
1. Immunophenotyping
FITC-labeled antibodies target surface markers such as:
-
CD4, CD8, CD19, CD45
-
MHC class I/II
Learn more from UCSF Flow Cytometry and NHLBI Flow Cytometry.
2. Apoptosis and Cell Cycle Analysis
-
Annexin V-FITC is used for detecting phosphatidylserine exposure
-
PI or 7-AAD can be combined with FITC for dual-parameter staining
Review protocols on NCI Apoptosis Resources.
Applications in Immunofluorescence Microscopy
1. Cellular Localization Studies
FITC allows visualization of:
-
Nuclear antigens
-
Cytoskeletal proteins
-
Membrane receptors
See examples at the Human Protein Atlas and NIH Microscopy Resources.
2. Multicolor Co-localization
FITC can be combined with:
-
DAPI (blue)
-
Texas Red (red)
-
Cy5 (far-red)
This enables precise spatial mapping of protein complexes or compartments.
For co-localization accuracy, refer to Stanford Imaging Guidelines.
Storage and Stability
-
Store conjugates at 4°C in PBS with 0.02% sodium azide
-
Protect from light using amber tubes
-
Avoid freeze-thaw cycles
Review FITC stability under different conditions at Johns Hopkins Imaging Core.
Troubleshooting Guide
| Problem | Cause | Fix |
|---|---|---|
| Weak signal | Low D/P ratio | Recalculate FITC to protein molar ratio |
| High background | Incomplete dye removal | Use G-25 desalting columns |
| Antibody precipitation | Low pH or contaminants | Re-purify antibody before labeling |
| Photobleaching | Exposure to light | Minimize light, use antifade reagents |
The Colorado State Flow Core offers detailed troubleshooting advice for conjugated antibodies.
Conclusion
The use of FITC dye labeling kits continues to be a cost-effective, flexible solution for antibody conjugation in labs working on cell analysis, protein detection, and fluorescence imaging. Researchers who adhere to strict optimization strategies—correct buffer choice, accurate dye-to-protein ratios, and validated purification—can produce reproducible and bright fluorescent antibodies suitable for multiplexed assays and routine applications.
Whether working in immunophenotyping, intracellular signaling, or microscopy, FITC-labeled antibodies remain a central tool. Following guidance from trusted institutions like NIH, CDC, NCI, NCBI, UCSF, Stanford, and Harvard ensures high-quality, publishable outcomes.